
Free motion quilt patterns: choose the stitch, then the motif
Published 2026-10-15. Updated 2026-10-15.
Pick the stitch method before you pick a motif. Use a walking foot for straight lines, a machine wave, or a grid when you want the machine to feed the quilt. Use stitch in the ditch, still with a walking foot, when the stitches should sit in a seam. Use free motion when you want an all-over texture you steer by hand. On a home machine, learn free motion in this order: stippling, then loopy loops, then square loops, then swirls, then pebbles.
Choose the stitch first
Three jobs show up on a finished top. The first is an edge-to-edge texture over the whole top. The second is a line that follows a seam. The third is a straight or gently curved line the machine feeds for you. The seam line and the machine-fed line both use a walking foot; the all-over texture uses a darning or free-motion foot.
A walking-foot guide groups the machine-fed motifs as straight line quilting, wavy line quilting, a grid, diamonds, and a herringbone. Straight line quilting is simple and sits well on a pieced top. The wavy version uses the preset curvy stitch, so the machine draws the curve. A grid is two passes of straight lines in opposite directions. Diamonds are the same idea on an angle, with the first line in each direction marked so the rest stay even. Herringbone is the walking-foot motif that teaches you to turn the quilt in the machine.
Stitch in the ditch is a walking-foot job too. A ditch tutorial uses a walking foot with a central guide. Seams pressed open leave a central ditch the guide can follow. Seams pressed to one side leave a slightly lower ditch on the side opposite the seam allowance. Slow down where the pressing direction changes, and keep the guide centered on the seam. That tutorial is about the ditch itself. It is a finish for outlining blocks, separate from free motion.
Free motion is the third job. You move the quilt. The feed dogs either drop or stay up with the stitch length limited, and a darning foot lets the sandwich travel in any direction. Use it when the piecing should disappear under an all-over texture, or when a block needs a motif the walking foot cannot turn.
A strip quilt is a calm place to practice the walking-foot lines before you try free motion. Our lane strip quilt: $8.99, coming soon.
Home-machine setup
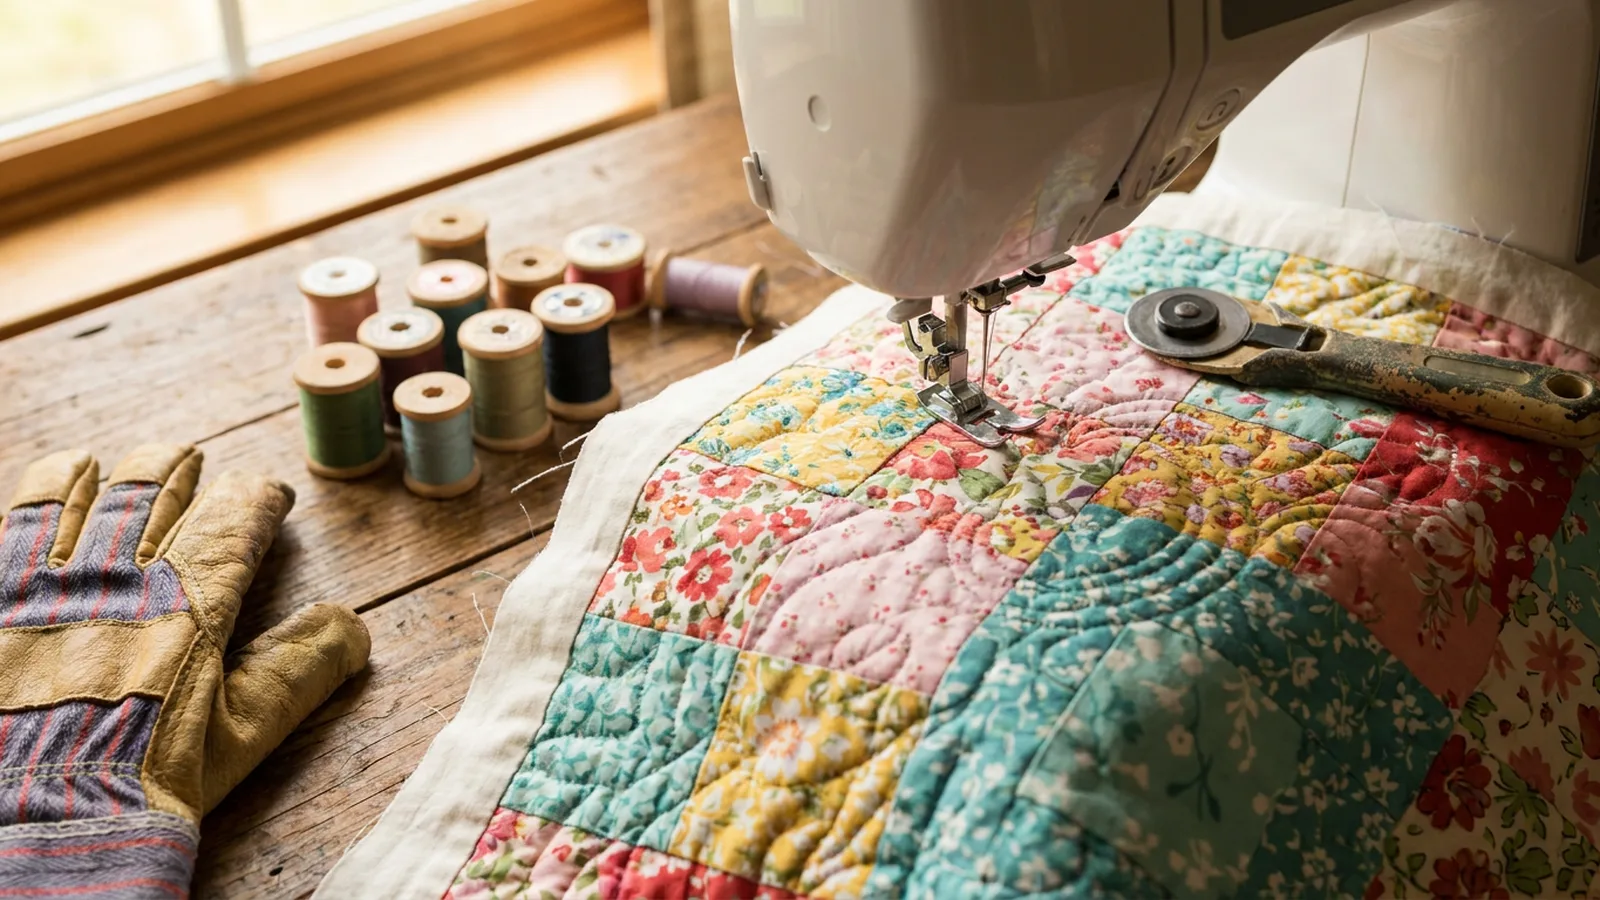
A regular sewing machine can do this. The gallery notes say you can begin free motion quilting with the sewing machine you are using right now. The foot is a darning foot, described there as a special foot that lets you move the quilt in all directions. A ruler foot is the alternative when you also want ruler work. Quilting Wemple calls the same tool a free motion quilting foot and pairs it with dropped feed dogs.
Practice on a real sandwich. The gallery notes say you need three layers: backing, batting, and a top. Skipping a layer to save practice cloth is a false saving, because free motion has to quilt through an actual quilt.
Feed dogs are the part people argue about. Quilting Wemple drops them so the teeth stop pulling the quilt from the front while you push it sideways. Leah Day's settings page treats dropping them as optional. With the feed dogs up, change stitch length to the lowest setting and cover the bed with a Free Motion Glider. With the feed dogs down, leave stitch length at the normal setting. The project start page states the up-feed-dog version as lowering stitch length to 0. Gloves help you grip the top. A slippery sheet under the quilt, taped at the corners so you do not stitch it to the backing, makes the sandwich easier to move.
One honest limit: these pages do not name one stitch length for every machine. Try the lowest setting with the feed dogs up, and the normal setting with the feed dogs down, on a practice sandwich before you quilt a finished top.
Motifs in learning order
Stippling first
Stippling, also called meandering, is the first free-motion design Leah Day learned. The stippling page gives the rule as a wiggling, meandering line. That rule keeps the line on its own path. It belongs to stippling. Other motifs cross and travel back over a stitched line on purpose. Stippling flattens into the background, so it works as a dense fill or as a larger, softer texture on a bed quilt. Draw it on paper first. The same hand motion becomes the quilt motion.
A random meander on the Quilting Wemple page is the same idea: a curvy doodle across the quilt, aimed at texture rather than the seams. It is the motif to use while you learn the foot, because you are watching your hands, not the block seams.
Loops next
Loopy loops are the simple motif The Little Mushroom Cap says can finish a whole quilt. Travel a loop, leave it, and start the next one. Square loops are the structured cousin, better on a quilt that already has a grid. Both are on the design-ideas list, along with pebbles, spirals, and woodgrains. Learn the round loop until the spacing feels even, then try the square loop on a block that wants corners.
Swirls, then pebbles
Swirls come after the line is steady, because they ask you to travel in and back out. A swirl tutorial splits them into nested swirls and open swirls. Nested swirls travel into the center, travel out until they touch a previous swirl, then backtrack along that edge before the next swirl. Open swirls travel out and bounce around the shape instead of backtracking. Stop stitching at a natural break, in the center or after a finished swirl, and only then move your hands; moving them while you are still stitching is what the tutorial warns against.
If a swirl grows a straight stem, keep it and call it a vine. The same tutorial turns swirls into a wreath by marking a circle and stitching along the inner edge, then the outer edge. Pebbles fill the center of that wreath. Pebbles are also on the Little Mushroom Cap list as their own motif: small rounded shapes packed beside each other. Learn them as a fill, after loops, because the travel between pebbles is the hard part.
The design gallery holds hundreds of named fillers beyond this order, including pebbles, loops, and stippling variants. The rank-one playlist capture is titled 365 Free Motion Quilting Designs. Use the gallery and the four motifs above as the learning order. The playlist title is a count of designs, not a sequence.
What to quilt on a first top
On a first quilt, quilt the whole top with one walking-foot motif or one free-motion motif. A grid or straight lines will show the piecing. Stippling or loopy loops will hide it under texture. Stitch in the ditch only where you want the blocks to stay visually separate, and do that pass with the walking foot before you switch to a darning foot for a fill. Switching feet mid-quilt is fine. Mixing three custom motifs on a first top is how the quilting starts to fight the piecing.
After the quilting, square the quilt and bind it. The binding guide covers strip width and joining the ends. If the top is still in pieces, a beginner quilt or a rail fence is a straight-seam top that will take any of these stitches. Plan the backing before you baste, using the backing guide.
What are some good free motion quilting ideas for beginners?
Start with stippling, then loopy loops, then square loops. Add swirls after the line feels steady, and use pebbles as a fill inside a shape.
What stitch length should I use for free motion quilting?
Set stitch length to 0 when the feed dogs stay up. Leave stitch length at the normal setting when the feed dogs are dropped.
Which foot to use for free motion quilting?
Use a darning foot, also called a free motion quilting foot. Use a walking foot for straight lines, waves, grids, and stitch in the ditch.
Should you stitch in the ditch before free motion quilting?
Treat stitch in the ditch as its own walking-foot job. The captured ditch tutorial teaches the ditch itself, as a separate method from free motion.
Can I quilt in free motion on a regular sewing machine?
Yes. A darning foot on the sewing machine you already use is enough to start, plus a three-layer practice sandwich.
What stitch should I use on a quilt?
Match the stitch to the job. A walking foot feeds straight lines, waves, and grids. Stitch in the ditch outlines seams. Free motion covers the quilt with a texture you steer.
- Free Motion Quilting Project: START HERE! Easy Free Motion Quilting with Leah Day
- Leah Day: Do I HAVE to Drop My Feed Dogs When Free Motion Quilting?
- Leah Day: How to Free Motion Quilt Stippling or Meandering
- Leah Day: Quilting Design Gallery
- Quilting Wemple: 10 Easy Quilting Designs for Beginners
- WeAllSew: How to Free-Motion Quilt Swirl Designs
- WeAllSew: Stitch in the Ditch with BERNINA Walking foot #50
- The Little Mushroom Cap: Free Motion Quilting Design Ideas
- YouTube: 365 Free Motion Quilting Designs playlist