
How to bind a quilt and join the ends
Published 2026-10-15. Updated 2026-10-15.
Sew double-fold binding to the front first. Cut strips 2 1/2 inches wide, or 2 1/4 inches if you want the slightly narrower quilt strip. Join the strips on a diagonal, fold the strip in half lengthwise, and stitch it to the front with a 1/4 inch seam. Join the ends with another diagonal seam, then finish on the back. Straight edges can use straight-grain strips. Curves need bias.
How many strips
Count strips from the finished quilt, after it is quilted and trimmed. Molly and Mama says to cover the perimeter plus at least 10 inches. Quilting Mayhem puts usable cotton at 40 to 42 inches after the selvages are cut off. The counts assume 2.5 inch strips, the width Sewmotion cuts. A right-angle diagonal join uses 2.5 inches of length, because her end overlap is 1/16 inch shy of that strip width, and the strips are joined on that same diagonal before they go on the quilt. For a set of strips, each join except the last loose end uses 2.5 inches. Joined length is the strip count times the usable width, minus one less than the strip count, times 2.5. That joined length has to cover the perimeter plus the 10 inches. The 10 inches is the allowance for the final end join, about 2.5 inches of overlap, and for handling. Round up to the next whole strip. When the two widths disagree, the table shows the range. The sizes are the Honeybegood quilt sizes.
| Quilt | Size, inches | Perimeter plus 10 | Strips at 40 inches | Strips at 42 inches |
|---|---|---|---|---|
| Crib | 39 x 54 | 196 | 6 | 5 |
| Twin | 65 x 88 | 316 | 9 | 8 |
| Twin XL | 65 x 93 | 326 | 9 | 9 |
| Full | 80 x 88 | 346 | 10 | 9 |
| Queen | 86 x 93 | 368 | 10 | 10 |
| King | 104 x 93 | 404 | 11 | 11 |
| California king | 100 x 97 | 404 | 11 | 11 |
A queen worked example: 86 plus 93 is 179, and twice 179 is 358. Add 10 and the length to cover is 368 inches. At 2.5 inch strips, each join costs 2.5 inches. Nine 40-inch strips join to 9 times 40 minus 8 times 2.5, which is 360 minus 20, or 340. That is short of 368, so the count is 10. Ten 40-inch strips join to 400 minus 22.5, which is 377.5. Nine 42-inch strips join to 378 minus 20, which is 358, short of 368. Ten 42-inch strips join to 420 minus 22.5, which is 397.5. Buy 10 strips if you have not measured the bolt. A quilt that shrank in quilting needs fewer strips. Measure the trimmed edge and rerun the same sum.
Sewmotion cuts 2.5 inch strips and leaves the ends loose: start sewing about 3 to 4 inches from the start of the strip, and stop about 8 inches before you meet that start. The overlap she cuts is 1/16 inch shy of 2.5 inches. That loose tail is why the 10 inch extra is a minimum, not a scrap allowance you can skip.
Cut, join, and fold
Cut across the width, selvage to selvage, on the straight grain when the quilt has straight sides. Molly and Mama cuts single-fold strips at 1 1/4 inches, and double-fold strips at 2 inches for a small project with thin layers. For a quilt she adds another 1/4 inch, which is the 2 1/4 inch strip. SewCanShe and Sewmotion both stay at 2 1/2 inches for a quilt. Use the same cotton weight as the quilt.
Join the strips before you attach them. Lay two ends right sides together at a right angle, draw the diagonal, sew on the line, and trim the corner to a 1/4 inch seam. Press the seam open. Fold the long strip in half lengthwise, wrong sides together, and press. Generations Quilt Patterns calls this double-fold binding the usual durable edge, and says it can be cut on the bias or on the straight grain. Bias, at 45 degrees, is the cut for curves and scallops, because the strip has to stretch. A straight-grain strip is the faster cut for a square quilt. Stripes look even on the bias. Packaged poly-cotton tape from the notion wall is a different product. Generations says to save that tape for bibs and aprons.
Attach on the front, then join the ends
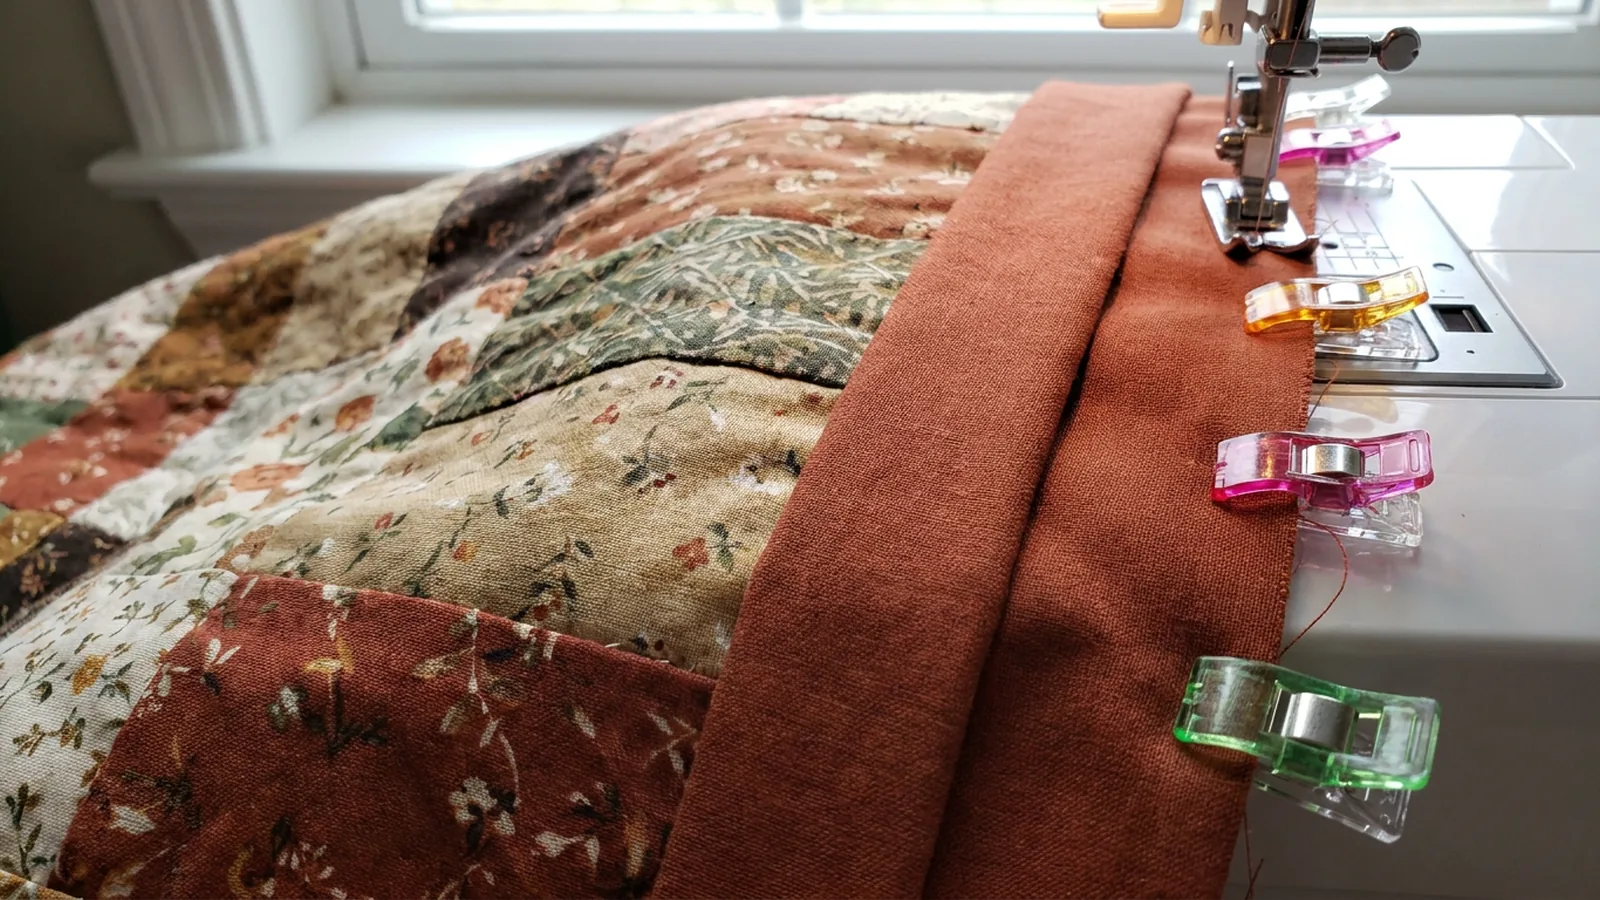
Square and trim the quilt sandwich first. SewCanShe starts only after the quilt is quilted, trimmed, and squared. Align the raw edges of the folded strip with the raw edge of the front. Leave a tail of about 6 to 8 inches and start on a side, not in a corner. Sew with a 1/4 inch seam. A walking foot helps keep the layers from shifting.
Miter each corner. Stop 1/4 inch from the edge and backstitch. Fold the strip up at 45 degrees, then fold it back down along the next side. Start sewing again at the edge of that side.
Join the ends when you are 4 to 6 inches from the start, which is SewCanShe's stop point. Bring the ends together, fold them back until the folds meet, and crease. Open the strip, match the creases, right sides together, and sew the diagonal. Trim to a 1/4 inch seam, refold, and finish the gap. Sewmotion's version is the same diagonal, with the overlap cut just under the unfolded strip width so the joined strip lies flat.
Finish on the back. Molly and Mama machine-stitches the front and hand-stitches the back. SewCanShe wraps the strip to the back and stitches in the ditch from the front so the line catches the folded edge on the back. Either finish covers the raw edge. Check the back after the first side so the fold is actually caught.
Other edges
Double-fold is the edge for a quilt that will be used and washed. Generations also describes single-fold binding and a self-binding, where the backing is wrapped to the front. Those are lighter finishes, suited to a wall quilt. Prairie points and a facing are other edges, and they are not a substitute when you want a worn-in quilt edge to stay covered. Binding is the strip method above.
The strip count assumes a squared quilt at the chart size and a full-width strip. Quilting can pull the top in. Measure after you trim, then cut.
A clean join, in one pass
Lay the quilt on a table so the loose tails can meet without pulling the sewn side. Open the folded strip only at the join. If the diagonal looks twisted when you flip it right side out, resew it before you trim. A flat join is the one that matches the other strip seams, which is why both SewCanShe and Sewmotion use a diagonal rather than a straight cut across the strip. After the join is pressed, the remaining gap should lie on the quilt edge with the raw edges still aligned. Then sew that gap closed and turn the strip to the back.
Corners fail when the stop is late. Stopping a 1/4 inch from the raw edge, folding the 45 degree tuck, and starting again on the next side is the whole miter. Practice the fold on the first corner before you sew the other three. The back fold at that corner should mirror the front tuck so the corner stays square after the finish stitch.
Read the lane strip quilt, coming soon at $8.99.
The finished size that feeds this count is on the size chart. The back that sits under the binding is on the backing guide.
What is the recommended width of strips for quilt binding?
Two captured tutorials cut 2 1/2 inch strips for double-fold binding. A third cuts 2 1/4 inch strips for a quilt and 2 inch strips for a small project with no batting.
Do you sew quilt binding on the front or back first?
Sew the raw edge of the folded strip to the front first, with a 1/4 inch seam. Finish on the back, either by hand or by stitching in the ditch from the front.
Does quilt binding have to be cut on the bias?
Straight edges can use straight-grain strips. Curves and scallops need bias, cut at 45 degrees, so the strip can stretch.
How to join the ends of a quilt binding with a diagonal seam?
Leave a tail, overlap the ends, sew a diagonal line, trim to a 1/4 inch seam, and finish sewing the strip to the quilt.
Do you sew around the edge of a quilt before binding?
Quilt the sandwich, then trim and square it, before you attach binding. The binding covers the raw edge after that trim.
What is binding a quilt?
Binding is a fabric strip sewn around the outer edge so the raw edges of the top, batting, and backing are covered and can take wear.