
Half-square triangle quilt patterns: cut sizes and layouts
Published 2026-10-15. Updated 2026-10-15.
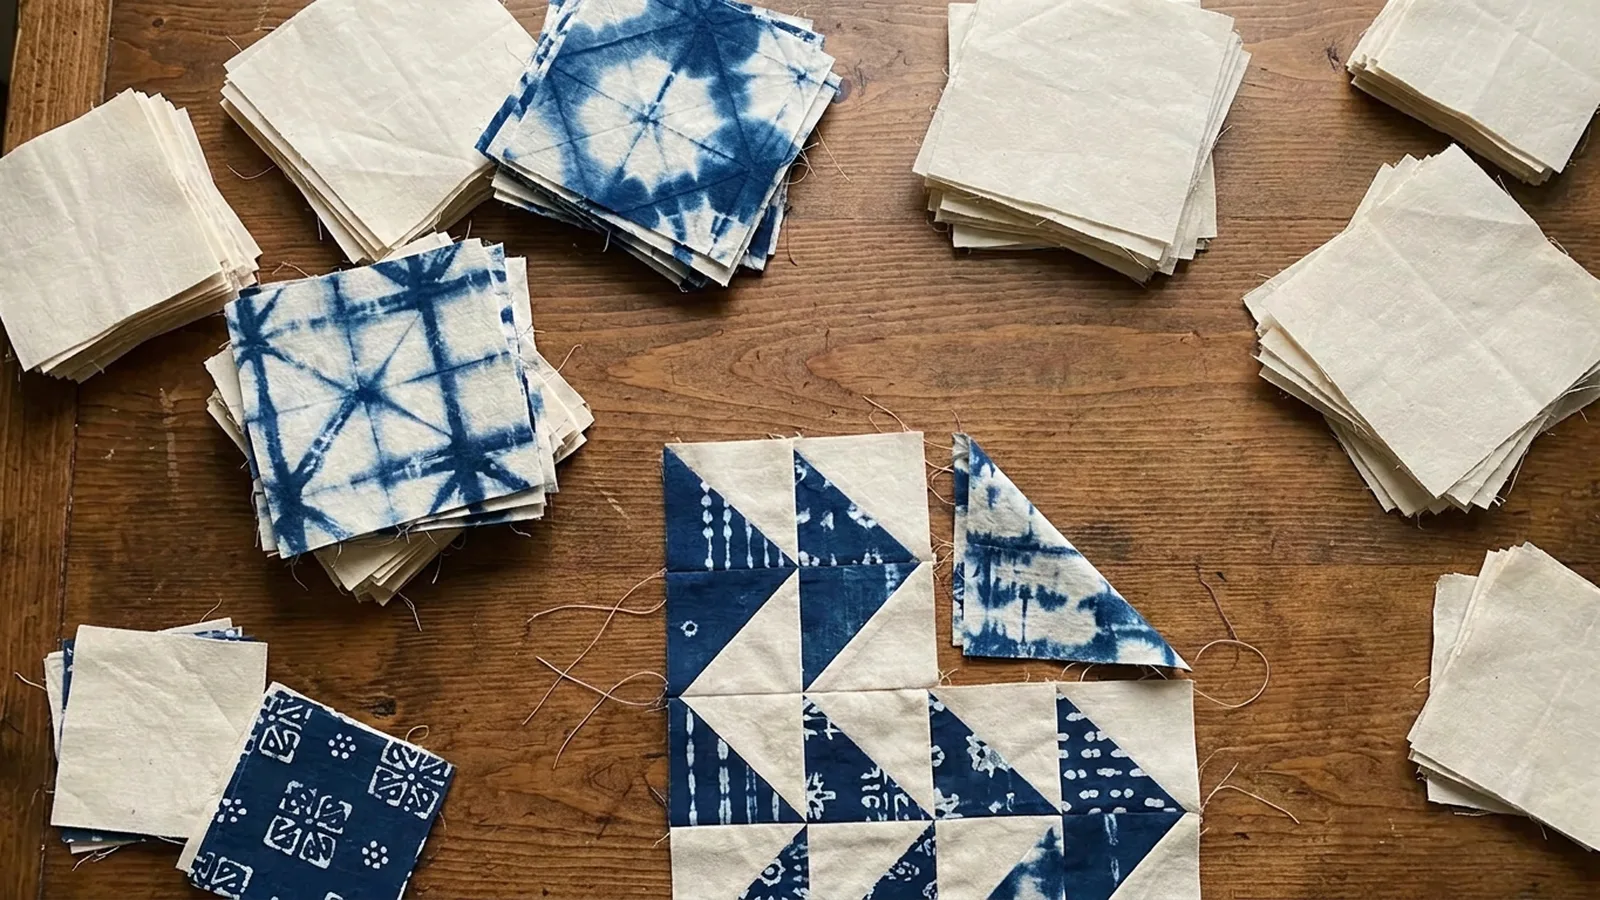
Cut two squares, sew a quarter-inch seam on both sides of one diagonal, and cut on the line. That is a half-square triangle. For two units at a time, Suzy Quilts says to add one inch to the finished size you want, then trim. A 3-inch finished unit on that chart starts from 4-inch squares. Carole's Madam Sew lesson starts the squares at least ⅜ inch larger than the size you need at the next piecing step, and often ½ inch larger.
The layouts come after the cut. A pinwheel is four of these units. Chevron, diamond, and star layouts on the Madam Sew layouts page use the same unit turned in different directions.
Finished size and the square you cut
Quilters use "finished" for the size after the unit is sewn into the quilt, and "unfinished" for the size before that seam. Suzy Quilts states the unfinished size is ½ inch larger than the finished size, because a quarter-inch seam is lost on each side.
Two rules are in print, and they are not the same cut.
The oversized two-at-a-time rule on the Suzy Quilts chart is add one inch to the finished size, then trim. The chart is built that way:
| Finished inches | Cut squares, inches |
|---|---|
| 2 | 3 |
| 2½ | 3½ |
| 3 | 4 |
| 3½ | 4½ |
| 4 | 5 |
| 5 | 6 |
A 3-inch finished half-square triangle is the third row: cut 4-inch squares, sew, and trim back to the unfinished size, which is 3½ inches before the unit is sewn into the quilt.
Carole's lesson is the tighter rule. She cuts squares at least ⅜ inch larger than the size she wants at the next piecing step, and she usually adds ½ inch. If the next step needs a 2½-inch unit, she cuts squares from 2⅞ inches to 3 inches. In her worked example, 4½-inch squares become a 4-inch unit, and that unit finishes in the quilt at 3½ inches.
Use the one-inch-over chart when you want room to square up. Use the ⅜-inch or ½-inch add when you are already accurate and you want less waste. Do not mix the two rules in one block.
Three ways to sew the pair
Two at a time. Draw one diagonal on the lighter square, place the squares right sides together, and sew a quarter-inch seam on both sides of the line. Cut on the line. Suzy Quilts recommends this when you need a few units, or when the fabric is already a small scrap. Carole marks the sewing lines themselves, a quarter inch off the center, instead of trusting a seam guide to stay off a drawn line.
Four at a time. Sew a quarter-inch seam all the way around the pair of squares, then cut both diagonals. Suzy Quilts sizes those squares by dividing the unfinished size by 0.64 and rounding up to the next quarter inch. Her example is a 3-inch finished unit, so the unfinished size is 3½ inches. 3½ divided by 0.64 is 5.47, which she rounds up to 5½-inch squares. The outside edges of these units are on the bias. She says to starch the fabric before you cut if the bias worries you.
Eight at a time, the method people call magic 8. Mark both diagonals and both center lines on the lighter square. Sew a quarter-inch seam on each side of both diagonals, then cut on every marked line. Suzy Quilts sizes the starting squares by adding one inch to the finished size and doubling that number. On her eight-at-a-time chart, a 2-inch finished unit starts from a 6-inch square, and a 3-inch finished unit starts from an 8-inch square. She notes that an older video used a 5½-inch square for eight unfinished 2½-inch units, and that the chart she now recommends leaves more room to trim. This method needs the largest piece of fabric, so it is a poor fit for charm squares and a good fit for yardage when every unit can be the same two fabrics.
How to trim
Trim after pressing, not before. Carole's lesson puts the 45-degree line of a square ruler on the diagonal seam, trims two sides to the unfinished size, turns the unit, and trims the other two sides. The seam has to run corner to corner after the trim. If it misses a corner, the points in a pinwheel or a star will be blunt when you join the units.
Press toward the darker fabric if you want the seams to nest. Press open if the next seam crosses a bulky point. Either way, the trim size is the unfinished size, not the finished size.
What you can make with the units
The Madam Sew layouts page shows thirteen arrangements, each drawn with 16 units. The page used 2-inch units made on triangles-on-a-roll paper, and it says the same turns work at any size. The Madam Sew layouts page has no conversion chart. The cut sizes are in the table above.
The thirteen layouts, in the order that page gives them:
- Pinwheel. Four units around a center, each turned 90 degrees. The page uses four units for one pinwheel and shows it inside a larger field of 16.
- Sails. The same pinwheel turn, described again on that page as a spinning block.
- Diamonds. Four units with like colors touching at the center. Set several together and an hourglass appears in the spaces between them.
- Star. The diamond block with each corner unit rotated 180 degrees.
- Radiate. A center diamond with more rows of units pointing out.
- Diamond outline. A center diamond framed by another diamond of units. Add rows if you want a larger frame.
- Parallelograms. Two units side by side, one rotated 180 degrees. Useful as a border.
- Zigzags. Parallelograms alternating direction. Several rows read as chevron.
- Feathers. A small change from the chevron, shown as a border.
- Flying geese. Two half-square triangles can imitate a flying-geese unit. A true flying-geese unit is a different cut; see the sawtooth star block for that size chart.
- Diagonal stripes. Alternate the turn in a row, then stagger the next row.
- Modern X. Stripe rows turned so they cross.
- Fireball. Zigzag units set in a circle.
Simple triangle quilt patterns are mostly these turns plus plain squares. A nine-patch with half-square triangles in the corners is a different block, not a new unit. The Ohio star replaces the side units with quarter-square triangles. A bear paw uses 16 half-square triangles as claws. A mountain layout can be the same units stacked into peaks.
SewCanShe publishes a free throw made of 16 blocks. Each block finishes at 12 inches, the blocks are set in 4 rows of 4, and the finished top is 60 inches square. That page trims each block to 12½ inches unfinished. It is one layout, four ways of turning the same blocks, not thirteen different blocks.
A 10-inch pinwheel
A pinwheel is four half-square triangles. Carole sews them as two pairs, nests the seams, and runs the next seam through the little X where the seams meet so the center point stays put.
For a pinwheel that finishes at 10 inches, each unit finishes at 5 inches, because the block is two units across and 5 plus 5 is 10. On the Suzy Quilts two-at-a-time chart, a 5-inch finished unit is cut from 6-inch squares. Make four units, turn each one 90 degrees from its neighbor, and sew them as a four-patch. The unfinished pinwheel, before it is sewn into a quilt, is ½ inch larger than 10 inches on each side of the math only if you count the seam the same way Suzy does for one unit: the block should measure 10½ inches before it joins the next block.
That 10½-inch measure follows her rule that unfinished is ½ inch larger than finished. It is not a second chart.
What this page will not settle
The charts assume a quarter-inch seam and a trim. A scant seam, a thick press, or a ruler that slips off the diagonal will change the unit. Square every unit to one size before you sew a layout. This page does not pick a fabric line or a finished quilt size for you.
Our north point quilt: $8.99, coming soon.
How to make a 3 inch half-square triangle?
On the two-at-a-time chart from Suzy Quilts, a 3-inch finished unit starts from 4-inch squares. Sew a quarter-inch seam on both sides of the diagonal, cut on the line, and trim the unit to size.
What is the formula for half-square triangles?
Suzy Quilts adds one inch to the finished size for two units at a time. The four-at-a-time method divides the unfinished size by 0.64 and rounds up to the next quarter inch. The eight-at-a-time method adds one inch, then doubles that number.
What is the magic 8 method for half-square triangles?
It is the eight-at-a-time method: mark both diagonals and both center lines on one square, sew a quarter-inch seam on each side of both diagonals, and cut on the marked lines. Suzy Quilts sizes the starting squares by adding one inch to the finished size and doubling that number.
How to trim a half-square triangle?
Carole's Madam Sew lesson squares the unit with the 45-degree line of the ruler on the diagonal seam, trims two sides, turns the square, and trims the other two sides.
Which half-square triangle method fits a small scrap?
Two-at-a-time uses the smallest squares. Eight-at-a-time makes eight units from one pair and needs the largest cut. Match the method to how many matching units you need.
Are pinwheel quilts hard?
A pinwheel is four half-square triangles turned around a center point, which Carole's Madam Sew lesson shows as a first block. The unit is ordinary. The center point is the part that shows a wide seam.